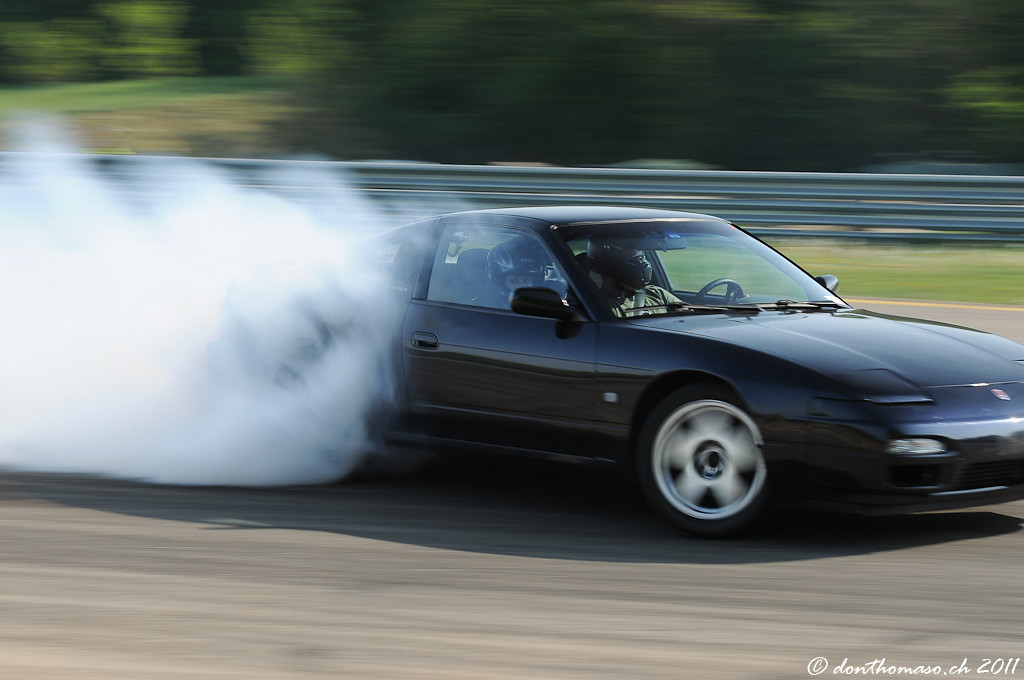
Not only our tires, brake pads, clutches and manifold gaskets suffer from constant use and abuse on the racetrack. We must never forget to check on our wheel suspension parts from time to time, although we tend to think, that these things should last a car’s lifetime.
We can’t deny a certain addiction to s-chassis rides, more than half of the team rocks one of these on the track, so let’s have a look at the front suspension of our RB-spec S13. Intense drift abuse with sticky competition tires at the front effected in strange noises and imprecise steering.
A closer look and check-up showed, that both wheel bearings and the joints of our front control arms were wasted. Both parts had a lot of play and obviously needed replacing.
Depending on your workshop equipment, there are different approaches to do the job. I want to show you, how to do this in a more pragmatic way, without special tools:
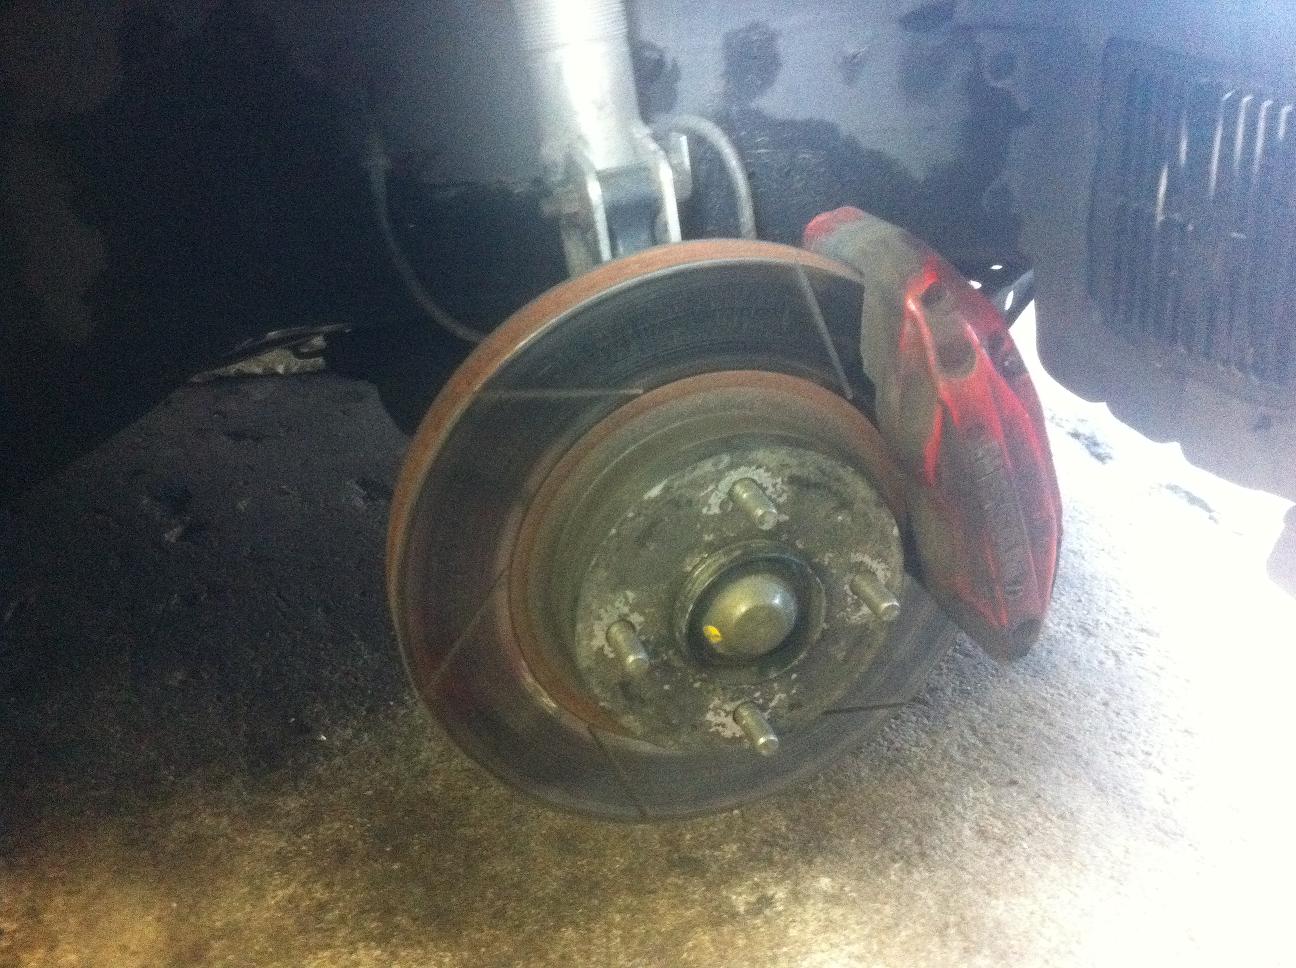
First remove the end cap on the wheel hub to expose the hub nut. Then get rid of the splint, that secures the nut. It is important to do this before (!) you remove the suspension setup from the car, ‚cause the main nut is torqued quite a bit…
Next mount the wheel back on and drop the car to the ground, fasten the handbrake and loosen the nut with a massive extension. After that you can remove the wheel and disassemble the wheel suspension. I think there is no need to explain those rather trivial steps.
In order to detach the control arm, you’ll need to jam it in the bench vise. The splint is a real biatch to get out. Now you have all the important parts disassembled and ready to be revised/improved/…
The wheel hub will look at you like this, when removed.
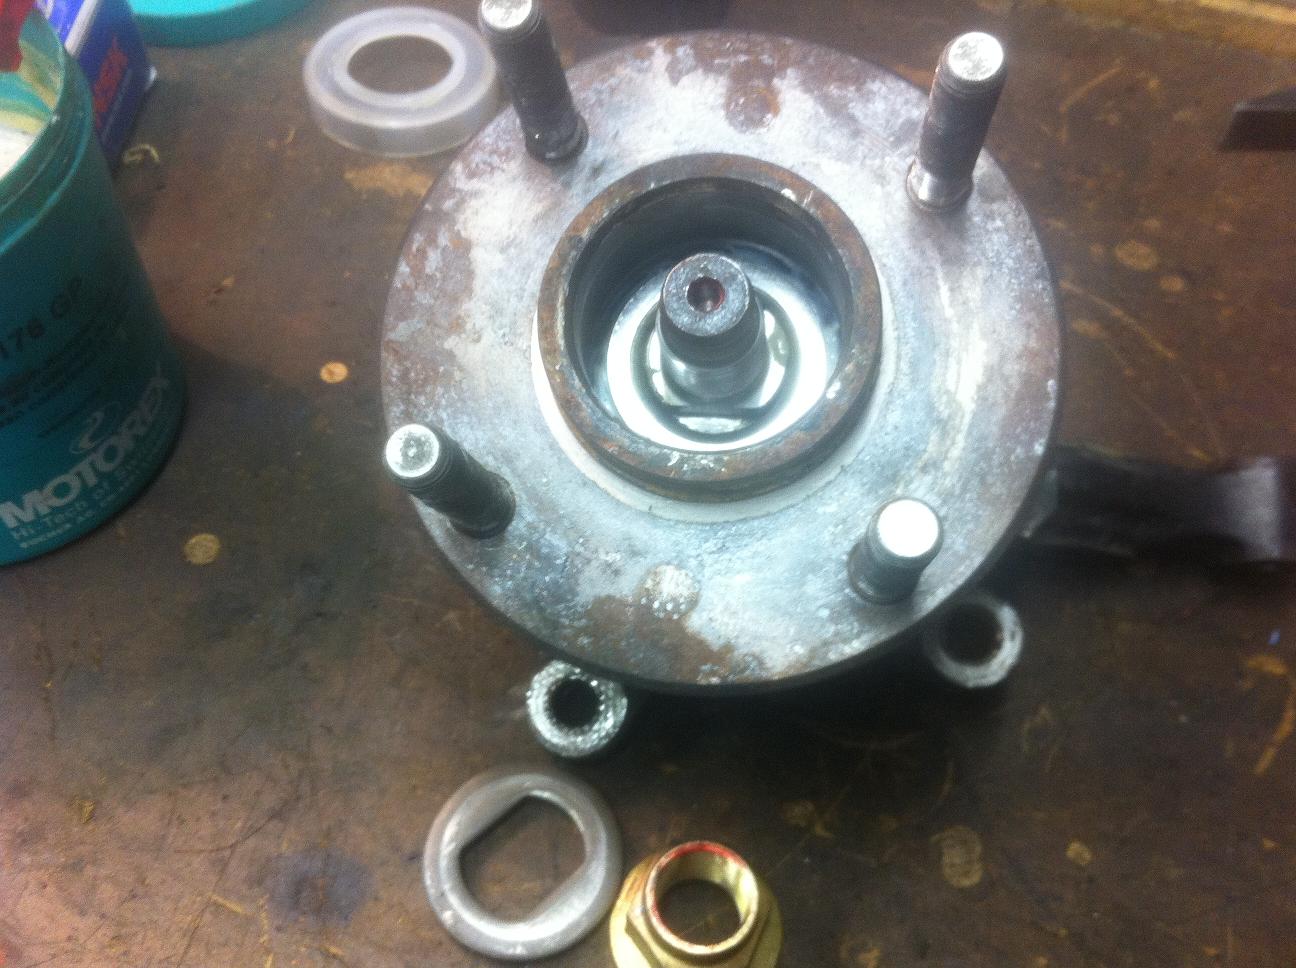
This is what you will be facing, when turned up-side-down. You can clearly view the old f***ed up bearing. Now you must remove the retaining ring of the bearing, this is easily done with the help of a thin screw driver.
By this time, you really should have the new bearings ready on your bench.
To get the old sucker out, put the wheel hub on an iron surface with the „outside“ up. Look for a suitable transition piece to hammer on. Then blast the little moron out of the hub!
You will be rewarded with a sight like this. Now clean the inside of the hub and throw the new bearing into the freezer/fridge. It needs to get as small as possible, low temperatures help a lot in this case 😉
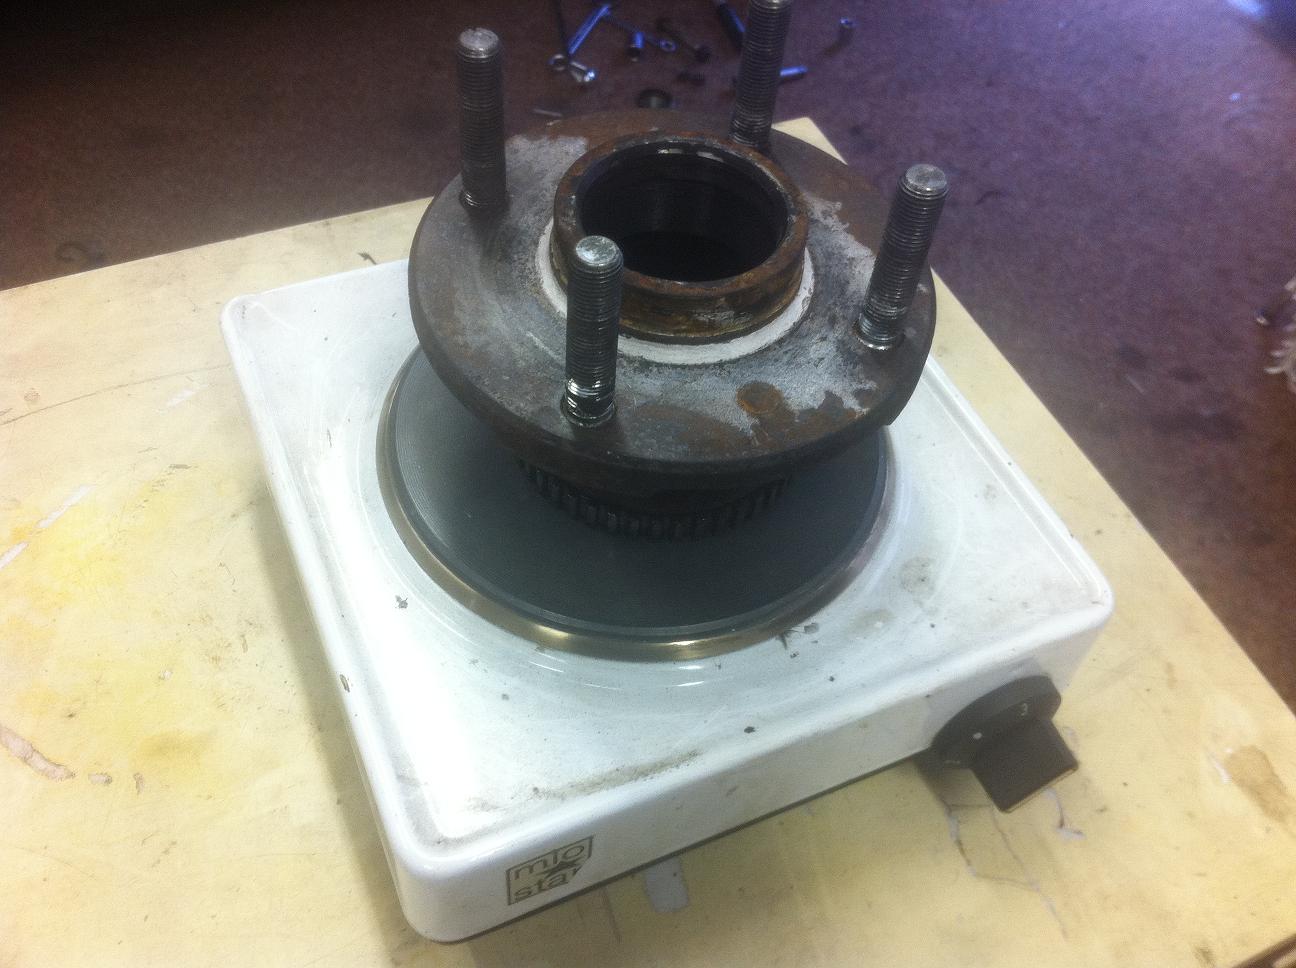
The wheel hub on the other hand needs to be as wide as possible. That’s why you’ll cook that buster. Best is to have a small cooker, heating up the hub to the max. Althoug I wouldn’t exaggerate, you don’t want the hub to get twisted…
The miracle of physics will do the rest then. After 5 min. of waiting, get the two parts on your bench and simply drop the new bearing into the hub. Done!
Please be sure both parts have been in their contrary sourroundings long enough, because you will only have one shot. If the bearing only drops in half way, you’re f***ed. You will then need to apply brute violence… an that on a brand new wheel bearing…!
Make sure everything is really greasy and assemble the hub. It is now ready to be reinstalled and will last another 200’000km communting, or 1-2 seasons of drifting… haha
It is always an exhilarating moment to compare and mount new parts. So connect the revised wheel hub and the brand new control arm and be merry.
The suspension is then ready to be reinstalled into the car.
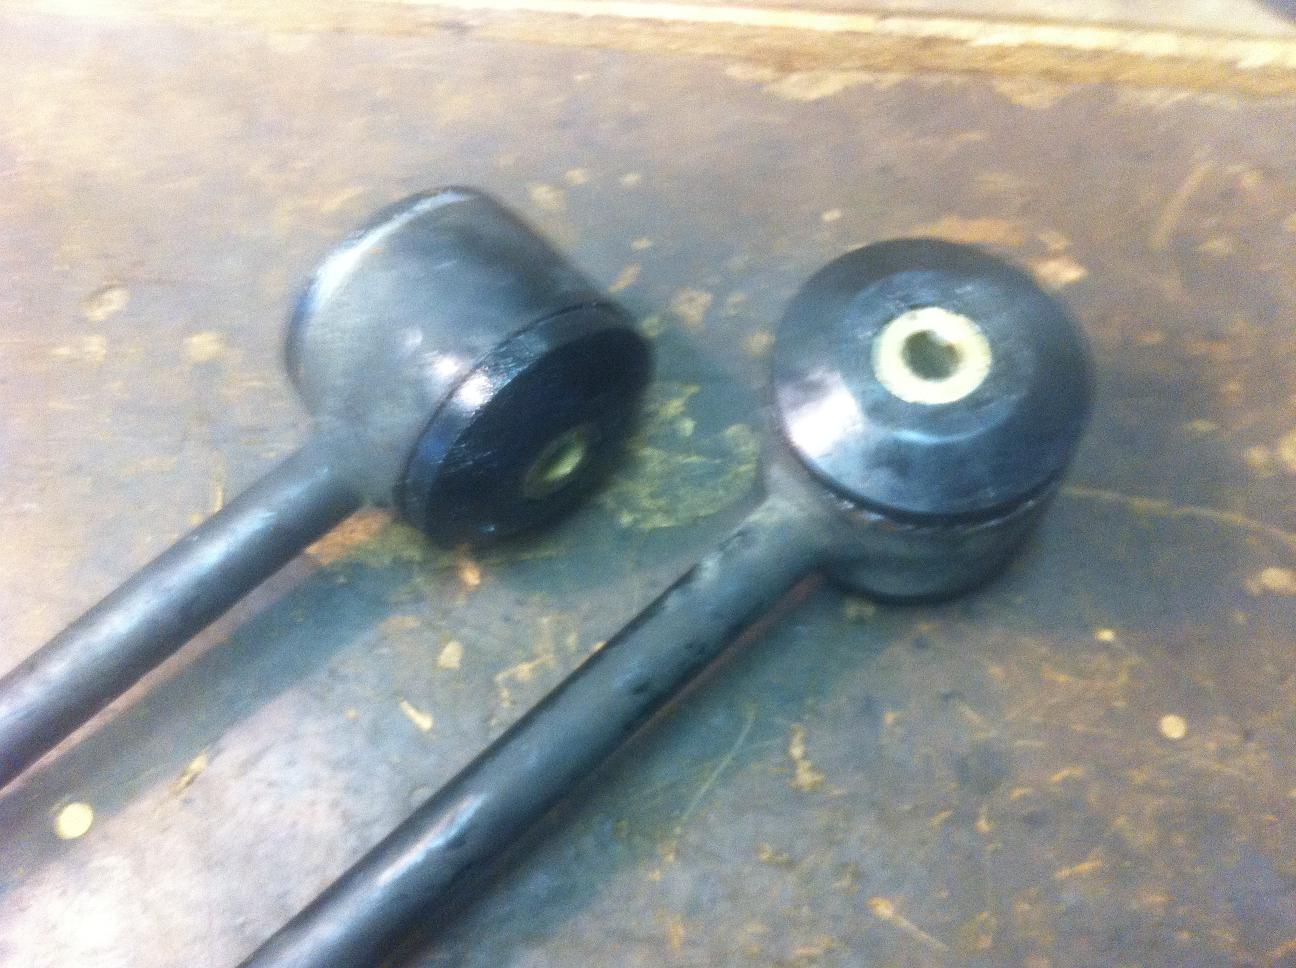
One thing that bothered me for a long time, was the condition of the tension rods. Being 18 years old, the rubber inserts have seen better days.
Extrude the old inserts and get yourself a nice pair of performance replacements from e.g. Energy Suspension.
It will prepossess you with joy to mount these renewed and tight tension rods!
Now you beefed up your front suspension and will certainly receive an improved steering feel and grip at the front.
The Silvia is now ready again to make you grin… 😛Not only our tires, brake pads, clutches and manifold gaskets suffer from constant use and abuse on the racetrack. We must never forget to check on our wheel suspension parts from time to time, although we tend to think, that these things should last a car’s lifetime.
We can’t deny a certain addiction to s-chassis rides, more than half of the team rocks one of these on the track, so let’s have a look at the front suspension of our RB-spec S13. Intense drift abuse with sticky competition tires at the front effected in strange noises and imprecise steering.
A closer look and check-up showed, that both wheel bearings and the joints of our front control arms were wasted. Both parts had a lot of play and obviously needed replacing.
Depending on your workshop equipment, there are different approaches to do the job. I want to show you, how to do this in a more pragmatic way, without special tools:
First remove the end cap on the wheel hub to expose the hub nut. Then get rid of the splint, that secures the nut. It is important to do this before (!) you remove the suspension setup from the car, ‚cause the main nut is torqued quite a bit…
Next mount the wheel back on and drop the car to the ground, fasten the handbrake and loosen the nut with a massive extension. After that you can remove the wheel and disassemble the wheel suspension. I think there is no need to explain those rather trivial steps.
In order to detach the control arm, you’ll need to jam it in the bench vise. The splint is a real biatch to get out. Now you have all the important parts disassembled and ready to be revised/improved/…
The wheel hub will look at you like this, when removed.
This is what you will be facing, when turned up-side-down. You can clearly view the old f***ed up bearing. Now you must remove the retaining ring of the bearing, this is easily done with the help of a thin screw driver.
By this time, you really should have the new bearings ready on your bench.
To get the old sucker out, put the wheel hub on an iron surface with the „outside“ up. Look for a suitable transition piece to hammer on. Then blast the little moron out of the hub!
You will be rewarded with a sight like this. Now clean the inside of the hub and throw the new bearing into the freezer/fridge. It needs to get as small as possible, low temperatures help a lot in this case 😉
The wheel hub on the other hand needs to be as wide as possible. That’s why you’ll cook that buster. Best is to have a small cooker, heating up the hub to the max. Althoug I wouldn’t exaggerate, you don’t want the hub to get twisted…
The miracle of physics will do the rest then. After 5 min. of waiting, get the two parts on your bench and simply drop the new bearing into the hub. Done!
Please be sure both parts have been in their contrary sourroundings long enough, because you will only have one shot. If the bearing only drops in half way, you’re f***ed. You will then need to apply brute violence… an that on a brand new wheel bearing…!
Make sure everything is really greasy and assemble the hub. It is now ready to be reinstalled and will last another 200’000km communting, or 1-2 seasons of drifting… haha
It is always an exhilarating moment to compare and mount new parts. So connect the revised wheel hub and the brand new control arm and be merry.
The suspension is then ready to be reinstalled into the car.
One thing that bothered me for a long time, was the condition of the tension rods. Being 18 years old, the rubber inserts have seen better days.
Extrude the old inserts and get yourself a nice pair of performance replacements from e.g. Energy Suspension.
It will prepossess you with joy to mount these renewed and tight tension rods!
Now you beefed up your front suspension and will certainly receive an improved steering feel and grip at the front.
The Silvia is now ready again to make you grin… 😛
